The Ultimate Guide to Using an iPad Photo Booth
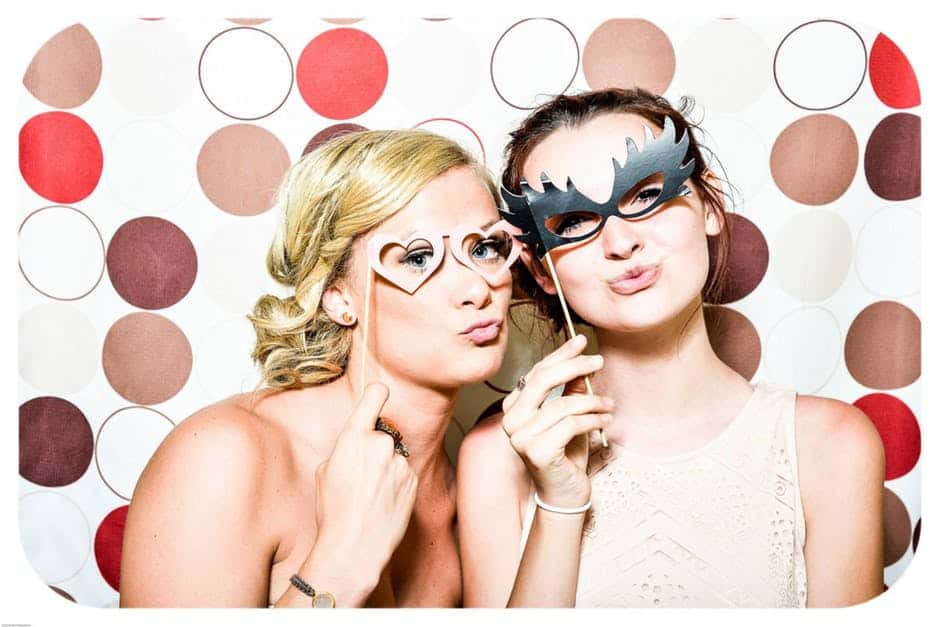
Photo booths are big business, usually brought for special events like weddings, birthdays, and graduations to capture fun memories with your friends or guests. On average, there are over a quarter of a million searches a month for the word ‘photo booth’, a testament to their popularity.
There are loads of different types of photo booths, ranging from the classic box-like photo booth to large-scale setups with professional photographers and props. But did you know you can also create your own iPad photo booth with a little know-how?
If you’re planning a large event and want to use a photo booth, you’re probably asking yourself a few questions. What type of photo booth should you go for, are they easy to set up, and how to use them?
This guide answers all those questions and tells you how to get started with your iPad photo booth. Read on to find out more.
What Photo Booth Options Are There?
There are loads of different types of photo booths that you could use for your event, but which one is best for you? Here is our guide to what we think are the three of the best options.
GIF Photo Booth
The GIF photo booth has been rising in popularity during the last few years. They are similar to the classic photo booth, although you have the bonus of adding simple GIF animations to your images. GIF photo booths work in 2 ways:
- By taking multiple photos, which are then combined into a GIF
- By taking a boomerang-style video clip and creating a short looping video
Both of these options are incredibly fun and interactive experiences for your guests because they can really let their personalities shine in front of the camera by pulling faces, dancing, and quick prop changes. These images can easily be shared on your social media. Purchasing a GIF Photo Booth can be cost-effective especially if there are payment plans available. Check out our pricing options!
The Classic Photo Booth
This is far from a new photo booth idea, which is why we call it the classic photo booth. These are still popular choices as they will have a photographer who will set the booth up, take the photos, and then print and email the images and pack them down at the end of the event.
These tend to be a bit more of an expensive option and can take a lot of time to set up. But they are great if you want a hands-off traditional booth.
DIY iPad Photo Booth
If you’re on a budget, and you don’t mind a bit of extra work, then you can make your own GIF Photo Booth. As long as you have a tripod and smartphone that has a good camera or has access to iPad photos, then this is easy. If not, then you can invest in a complete photo booth kit. We like to think ours are pretty clever.
You’ll need a well-lit place with enough space for people to stand in a group and a neutral backdrop. If you’re setting up your own photo booth, use an App so people can take photos themselves without the need to hire a technician.
How To Use An iPad Photo Booth
If you’re going down the route of setting up your own iPad Photo booth, here are some easy-to-follow instructions on how to use it.
iPad Set Up
To ensure that guests can access the iPad for the entire event, make sure you have made a couple of changes to the settings. Turn off any passcodes so that guests can access it without having to keep getting the owner to type it in, and also disable the auto-timeout function.
Install A Photobooth App
Although you could just use the standard camera function on your iPad, there are dozens of great photo booth Apps that are better for this purpose. These include options to make GIF images as well as easier functionality for sending images to guests and sharing them on social media.
Plus, these apps are intuitive, meaning they can be left unmanaged for the event.
Set Up The Photo Space
At the venue, you’ll need to find a suitable space to set up the photo booth. Ideally, you want somewhere near to a power outlet, and with enough space to fit large groups. If you can find somewhere with a neutral background, then this will also help.
If you can not find anywhere with a suitable background, then you can use a large Kingsized light-colored sheet to hang up.
Add Props
Depending on what the event is, you might want to supply some props for your guests to have fun with. These can be silly hats, inflatable objects, wacky glasses, colored wigs or speech bubbles, and emojis.
Set up the iPad, Lights, and Tripod
Once you’ve done all the initial setup, you’re ready to add in the iPad. Mount it on a tripod with a ring light. You can use other styles of lighting, but for photobooths, ring lights work the best as they provide a soft and flattering light.
Do a couple of test shots and adjust the height or position of the tripod and light if you need to. After that, you’re all set to let your guest capture their memories of the event.
The Gifyyy Route
If all that seems a bit complicated, check out the ease of use with a Gifyyy kit.
- You can carry it in one hand
- Set it up in five minutes
- And leave to run itself while you get on with your job
- Gifyyy creates super-fun animated GIFs
- And then delivers them straight to guests' smartphones
Sound like the right move? Check out Gifyyy’s photo booth kit here!
Are You Ready To Take Great Photo Booth Pictures?
Are you excited about using your iPad photo booth? As you have read, they are simple to use and a fun thing to have at any social gathering.
But what about all your photos, what happens to those? With Gifyyy you can create super-fun animated GIFs with your images and have them delivered straight to your guests' smartphones. Your guests are then able to share them on social media. Plus, after the event, you can use Gifyyy's follow-up tools to keep in touch with guests.
Find all of our great resources, information, and tips on photo booth photos, including our exclusive Gifgo galleries, by visiting us today.

